Track B · DVC
Dryer Vent Cleaning Certification
Learn the standards-based process for inspecting, cleaning, and airflow-testing residential and multi-unit dryer exhaust systems to reduce fire risk — and prove your competency with a credential homeowners, property managers, and insurers recognize.
Get certified online — certificate the same day.
- Self-paced
- Instant certificate
- 2-year validity
- Format
- Online, self-paced
- Lessons
- 5 lessons
- Exam
- 10 questions
- Pass mark
- 75% · retries
- Certificate
- Same day
- Validity
- 2 years
Earning potential
How much can you earn?
Per-job ticket
$100–200 / job
Daily route potential
5–8 jobs, low overhead
Recurring revenue
annual repeat customers
Illustrative ranges — actual earnings vary by location, effort, and experience, and are not guaranteed.
Why it pays
Why get certified?
Reduce fire liability
Clogged dryer vents cause thousands of home fires a year, and a documented, standards-based cleaning shows you mitigated a known hazard.
Win property-manager contracts
Multi-unit owners and HOAs prefer credentialed techs who can service entire buildings and produce airflow records for their files.
Stand out in a crowded market
A recognized certification separates you from handymen with a brush, justifying premium pricing and earning customer trust on the first call.
Charge for verified results
Before-and-after airflow readings let you prove the value of your work and upsell inspections, booster-fan checks, and annual maintenance plans.
Curriculum
Inside the Dryer Vent Cleaning course
5 self-paced lessons, then a 10-question exam — 75% to pass, unlimited retries.
- 1
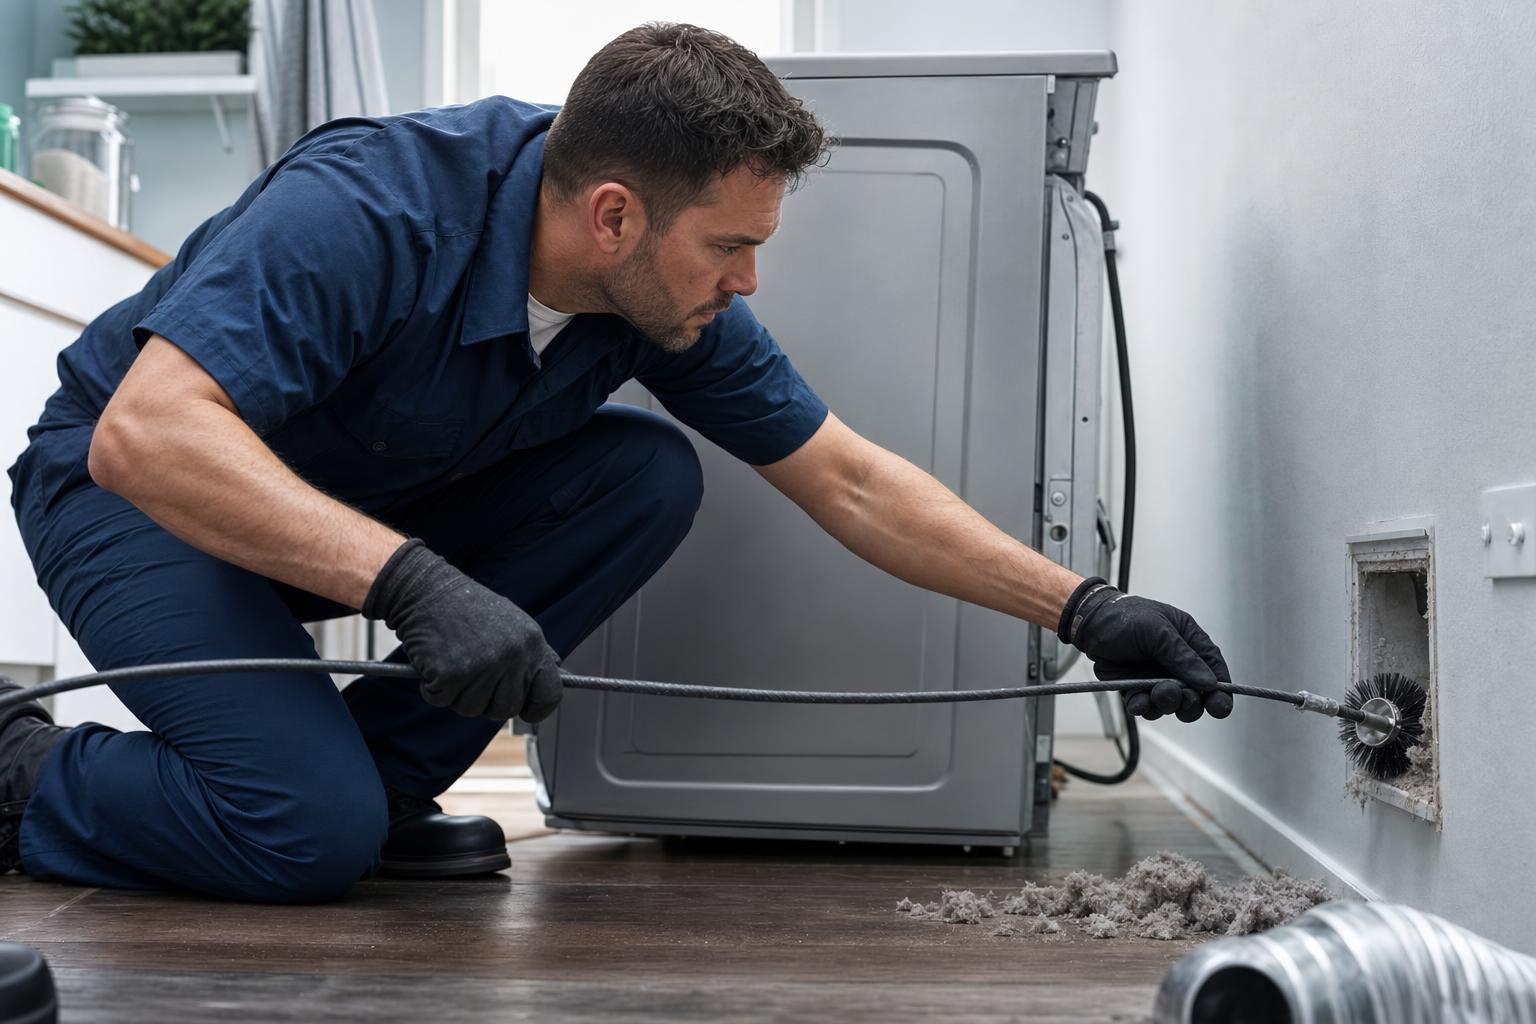
Why Dryer Vents Clog and Why It Matters
A clothes dryer works by pulling room air across a heating element, blowing it through the wet load, and exhausting hot, moisture-laden air outdoors through a duct. Every cycle sheds lint. The machine's own screen catches the coarse fraction, but fine lint, fabric softener residue, and condensed moisture still pass into the transition hose and rigid duct, where they accumulate on duct walls, elbows, and the exterior termination flap. Long runs, multiple 90-degree elbows, crushed flexible foil hose, and bird or rodent nests at the hood accelerate buildup. As the passage narrows, exhaust slows, moisture cannot escape, and heat backs up into the cabinet. The U.S. Fire Administration attributes roughly 2,900 home clothes-dryer fires per year, with failure to clean the leading cause and lint the most common first-ignited material. Lint is highly combustible, and the restricted, overheated airflow that precedes ignition is exactly what cleaning corrects. Warning signs a technician should recognize: clothes taking more than one cycle to dry, a hot dryer cabinet or hot laundry room, a burning smell, visible lint around the lint-screen housing, and a weak or absent airflow at the outside hood. As a certified technician your job is not only to remove lint but to restore the manufacturer's specified airflow, verify it objectively, and reduce fire risk. Understanding the airflow path end to end -- intake, drum, screen, transition, duct, termination -- lets you find the true restriction rather than just clearing the easy section near the machine.
- 2
Tools, Setup, and Mechanical Lint Removal
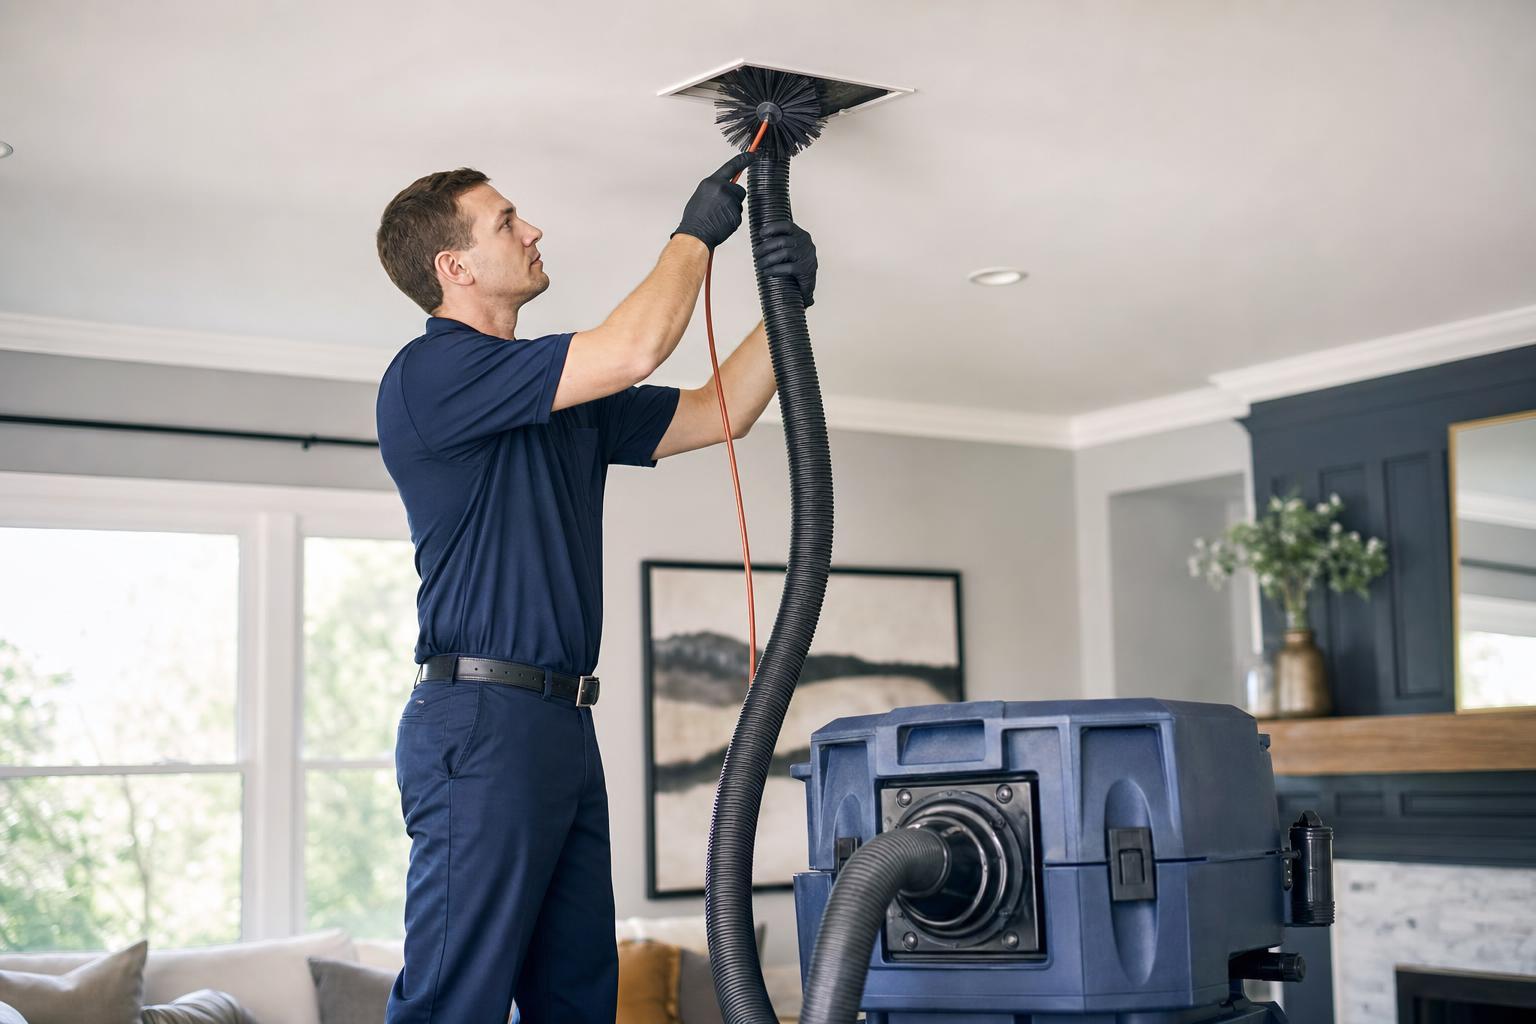
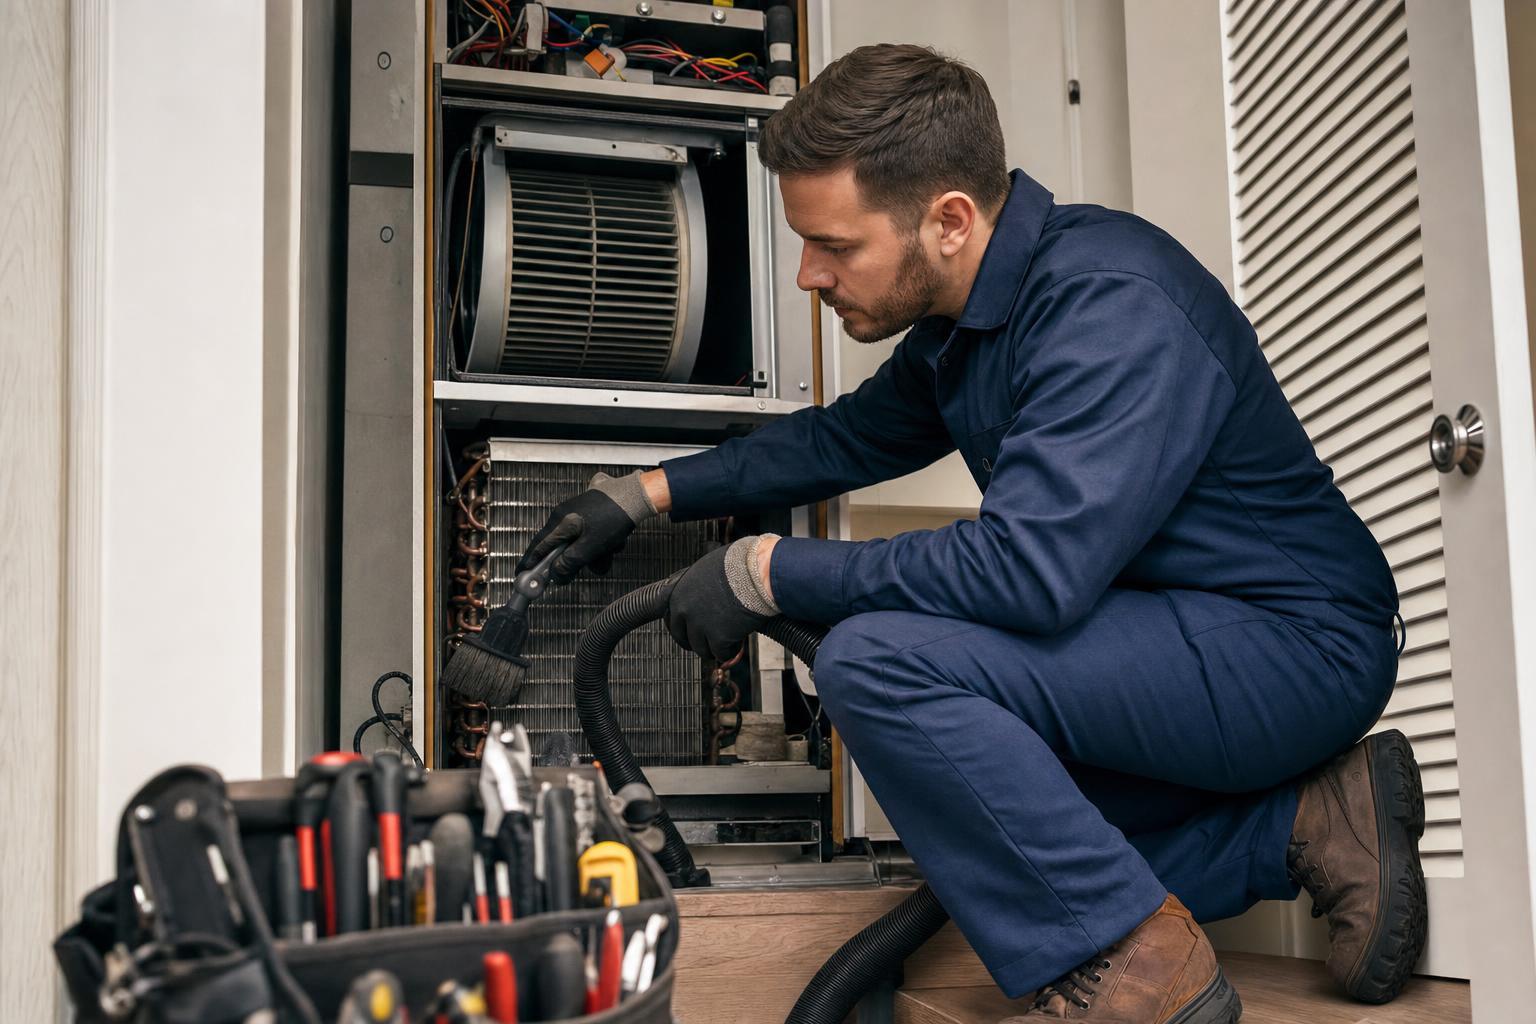
Assemble your kit before touching the dryer: a variable-speed drill, a flexible rotary brush kit with interlocking rods (the type rated for forward-only rotation to prevent rod separation inside the duct), a HEPA-filtered vacuum, hand brushes, a bright work light or inspection camera, painter's tape, drop cloths, and PPE (N95 or better respirator, safety glasses, gloves). Begin by shutting off power; for a gas dryer, also shut the gas valve and never disconnect the gas line yourself unless qualified. Pull the dryer out gently, disconnect the transition hose, and inspect it -- replace crushed foil or vinyl hose with smooth-wall rigid or semi-rigid metal duct, which holds far less lint and is code-compliant. Clean from both ends when possible: feed the rotating brush into the wall duct from inside while the vacuum captures dislodged lint, then go to the exterior termination and brush back toward the house. Keep the drill in the brush's rated direction and let the bristles do the work; forcing rods can puncture duct or crack joints. Remove and hand-clean the lint screen and the screen housing, where a surprising volume of lint hides. Vacuum the floor channel and the dryer's internal blower area if accessible. Always reconnect the transition hose with a clamp -- never sheet-metal screws that protrude inward and snag lint. The goal of this stage is a mechanically clean, smooth, properly routed path; the next stage proves it actually moves air.
- 3
Airflow and Static-Pressure Testing
Cleaning is not done until you measure. The two objective tests are airflow velocity and static pressure. For airflow, run the dryer on the air-fluff or no-heat setting and measure exhaust at the outside termination with an anemometer, or estimate volume with a flow hood. A healthy residential dryer moves meaningful air -- a common field benchmark is feeling strong, warm discharge and measuring well above the trickle you find on a clogged system; many manufacturers target roughly the airflow that a clean, short duct delivers. The more diagnostic test is back pressure. Manufacturers publish a maximum allowable static pressure for the exhaust system, frequently around 0.6 to 0.8 inches of water column (in. w.c.) measured at the dryer's exhaust outlet on the air setting. Connect a manometer (a Magnehelic gauge or digital manometer) to a small probe inserted just downstream of the dryer outlet, run the dryer, and read the pressure. A reading above the manufacturer's limit means the system is still too restrictive -- from residual lint, too many elbows, an undersized or excessively long duct, or a blocked termination -- even if it looks clean. Always test before and after cleaning so you can document the improvement. Record both numbers, the dryer setting used, ambient conditions, and the equivalent duct length you estimated (each 90-degree elbow adds several feet of equivalent length). Objective measurement separates a professional, verifiable service from a guess and protects you if a customer later questions the work.
- 4
Inspecting and Correcting the Exhaust System
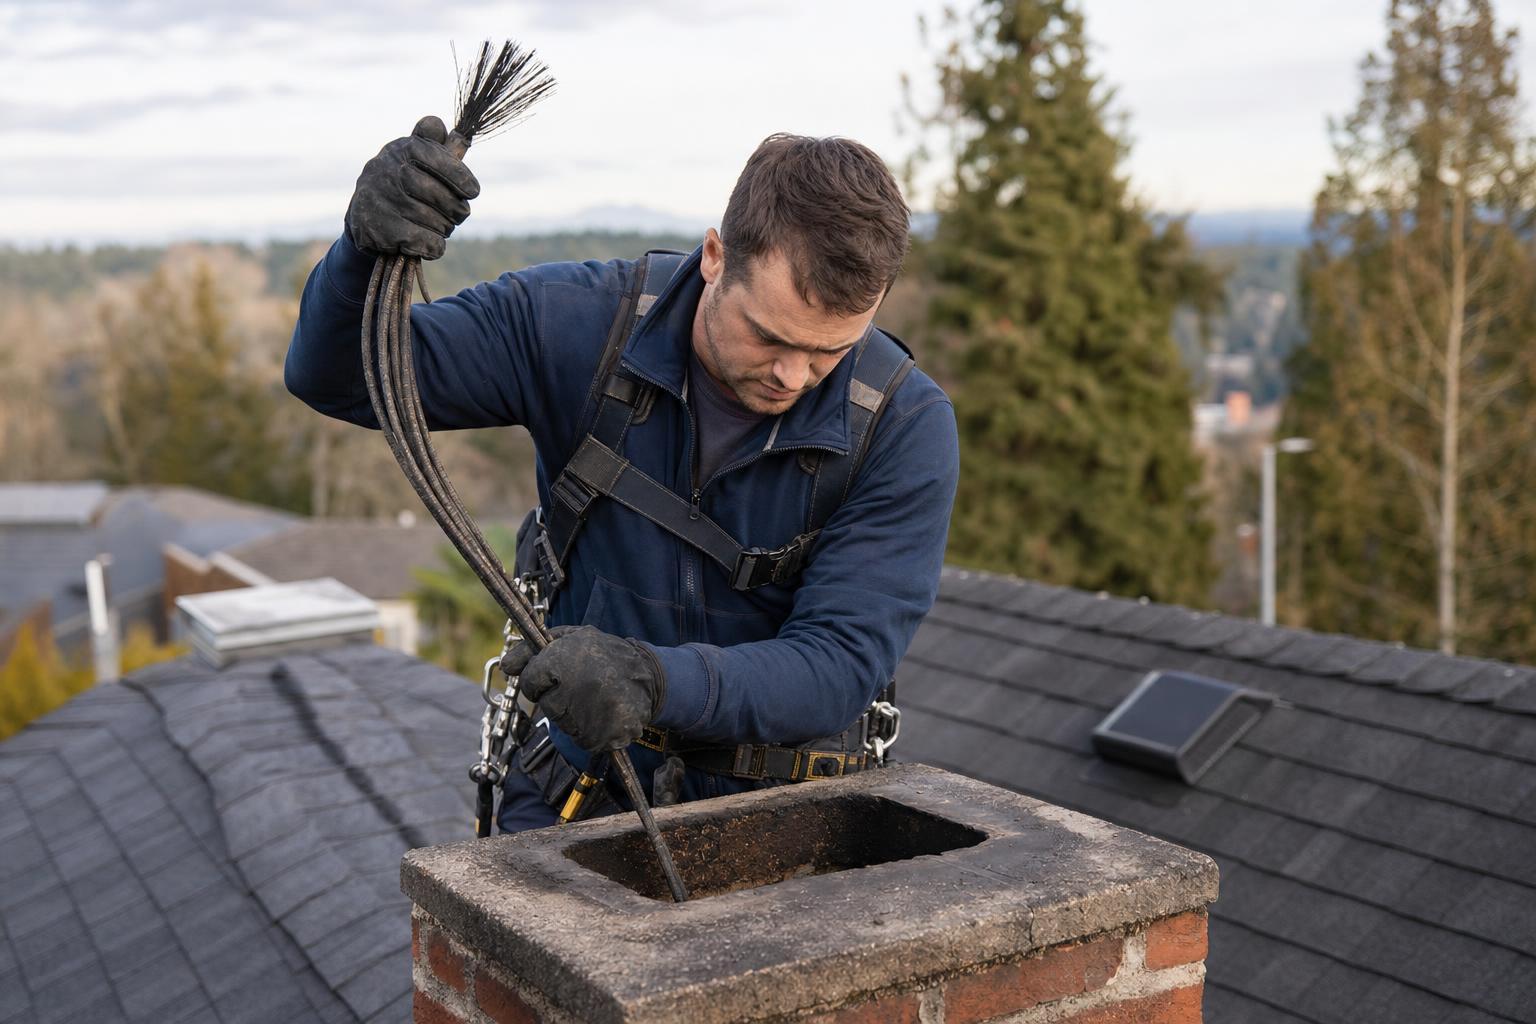
Many persistent problems are not lint but bad ducting, so inspect the whole run. Confirm the duct is smooth-wall rigid metal (galvanized or aluminum), 4-inch diameter for typical residential dryers, with joints oriented so the male end points downstream (in the direction of airflow) and sealed with foil tape -- never screws that protrude into the airstream. Flexible transition hose, where used, must be metal and as short and straight as possible; UL-listed transition length is generally limited to about 8 feet. Check total developed length against the manufacturer's maximum; remember each 45-degree elbow adds roughly 2.5 feet and each 90-degree elbow adds about 5 feet of equivalent length, so a duct with several turns can exceed limits even if the straight footage looks fine. At the termination, the hood must have a functioning backdraft damper and must not have a pest screen or mesh, which traps lint and is prohibited for dryer exhaust. Look for sagging runs that collect condensation and lint, disconnected joints venting into wall or attic cavities (a moisture and fire hazard), and crushed sections behind the dryer. Never terminate a dryer into a chimney, crawlspace, or attic. When you find these defects, document them and recommend correction; some you can fix on the spot (re-tape a joint, replace foil hose with rigid, clear the hood), others require a follow-up. Correct routing is what keeps the system clean longer and keeps your post-clean pressure reading within spec.
- 5
Fire-Risk Reduction, Gas Safety, and Documentation
The certification exists to reduce fires, so treat every job as a safety inspection. The fire chain is simple: restricted airflow, trapped heat, overheated combustible lint, ignition. Breaking it means a clean path, correct ducting, a working termination damper, and a verified low static pressure. On gas dryers, take extra care: never reconnect or disturb the gas supply line unless you are qualified, and after any work that moved the dryer, check the connection for leaks with a soap-bubble solution or a gas detector, never a flame. A blocked or back-pitched vent on a gas unit can also create a carbon-monoxide and moisture hazard, so confirm the exhaust actually reaches outdoors. Inspect the area for stored combustibles against a hot cabinet and advise the customer to keep the zone clear. Verify the lint screen is intact -- a torn screen lets large lint into the duct. Finish with documentation: record before/after static-pressure and airflow readings, the duct material, total equivalent length, defects found, parts replaced, photos of the termination and any problems, and your service recommendations including a cleaning interval (commonly every 12 months, more often for large households or long ducts). Give the customer plain guidance: clean the lint screen every load, watch for longer drying times, and call back if symptoms return. Thorough documentation proves the airflow was restored, supports warranty and insurance needs, and is the professional standard NISCR certification represents.
Curriculum
What you’ll learn
- Perform a full pre-cleaning inspection of the dryer, transition duct, and vent run to locate lint buildup, kinks, crushed sections, and improper materials.
- Identify and correct code-violating ductwork such as foil-foil flex, plastic transition hoses, and runs that exceed manufacturer length limits.
- Select and operate the right tools — rotary brush-and-rod systems, compressed-air whips, and HEPA vacuums — for the duct length, material, and routing.
- Measure airflow and static pressure before and after cleaning to verify the system meets performance targets and document the improvement.
- Safely access and service rooftop, sidewall, and shared multi-unit vent terminations, including replacing damaged or screen-clogged exterior hoods.
- Recognize the warning signs of a fire hazard — scorching, excessive drying times, overheating shutoffs — and advise the customer on corrective action.
- Reconnect the dryer correctly, confirm exhaust at the termination, and test for lint leaks at every joint before completing the job.
- Produce a clean service report with airflow readings and photos that satisfies homeowners, property managers, and insurance documentation needs.
What's included
Everything you get with enrollment
One price — the course, the exam, the certificate, and the tools to put it to work.
Self-paced lessons
Practical, standards-based lessons you can start, pause, and finish on your own schedule.
A real certification exam
A short multiple-choice exam that confirms you absorbed the material — 75% to pass.
Instant certificate
Pass and download your personalized Certificate of Completion the same day.
Unique verification ID
Every certificate carries an ID anyone can confirm online — proof customers trust.
2-year validity + renewal
Your credential is valid for two years, with a simple renewal path before it expires.
Free Find-a-Pro listing
Once certified, claim a free listing so homeowners in your area can hire you.
The process
How it works
Enroll & pay
Secure checkout, instant course access.
Complete the course + short quiz
Self-paced lessons, then a short quiz — 75% to pass, unlimited retries.
Download your certificate
Personalized certificate generated instantly, with a unique verification ID.
Your credential
Your certificate
- Holder name and course title
- Unique certificate ID
- Issue date and expiry date (2-year validity)
- Online verification by ID
A NISCR Certificate of Completion confirms completion of NISCR training and examination. It is a professional credential, not a government license. Where local law requires a license to perform a service, the technician is responsible for obtaining it.
Certificate
of Completion
This certifies that
Your Name
has completed
Dryer Vent Cleaning
- Certificate No.
- Valid
- NISCR-DVC-2026-XXXXXX
- 2 years
Enroll
Enroll today
$199
Course + certificate + renewal eligibility.
Keep going
Related certifications
Questions
Frequently asked questions
- Is this a license?
- No. NISCR certification is a professional credential that verifies you completed standards-based training in dryer vent cleaning and airflow testing. It is not a government-issued license, but it is the kind of proof of competency that customers, property managers, and insurers look for.
- How fast do I get the certificate?
- Same day. Once you complete the course material and pass the short quiz, your certificate is issued immediately so you can start booking work right away.
- Does my state require a license for this work?
- It varies by state and locality. Some areas require a general contractor or business license to operate, while many treat dryer vent cleaning as unregulated maintenance. Always check your local rules — this certification complements any required license, it does not replace one.
- Do I need expensive equipment to get started?
- No. Entry costs are low. A rotary brush-and-rod kit, a HEPA shop vacuum, and a basic anemometer for airflow readings are enough to start most residential jobs, and you can scale up to compressed-air whips and longer rod sets as you grow.
- Why is airflow testing part of the certification?
- Because a clean-looking vent can still be dangerously restricted. Measuring airflow and static pressure before and after the job is how you verify the system actually performs, prove your value to the customer, and document fire-risk reduction.
- Is there ongoing demand for dryer vent cleaning?
- Yes. Lint rebuilds with every load, so vents need servicing roughly once a year, which drives strong repeat business. Multi-unit buildings, rentals, and HOAs add steady, schedulable work on top of one-off residential calls.