Track C · GDR
Garage Door Repair & Installation Certification
Learn the standards-based process for diagnosing and repairing garage door springs, openers, tracks, and panels — and back it with a credential homeowners and property managers can verify before they let you near a door under tension.
Get certified online — certificate the same day.
- Self-paced
- Instant certificate
- 2-year validity
- Format
- Online, self-paced
- Lessons
- 5 lessons
- Exam
- 10 questions
- Pass mark
- 75% · retries
- Certificate
- Same day
- Validity
- 2 years
Earning potential
How much can you earn?
Service call / repair
$150–400
Full door installation
$400–1,500+
Demand
high, year-round
Illustrative ranges — actual earnings vary by location, effort, and experience, and are not guaranteed.
Why it pays
Why get certified?
Charge for expertise, not guesswork
A recognized credential lets you command service-call and installation rates that DIY competitors and unproven handymen can't justify.
Prove you handle springs safely
Torsion and extension springs store enough energy to maim — certification shows customers and partners you follow a documented safe-release procedure.
Win builder and property-manager accounts
Contractors and property managers screening for qualified installers favor techs who can show standards-based training on file.
Stand out in a trust-driven trade
Homeowners hand over a key and a security risk; a verifiable certificate turns a stranger into a credentialed pro.
Cut callbacks and warranty disputes
Knowing correct spring sizing, opener force settings, and track alignment means fewer return trips and cleaner manufacturer warranty claims.
Curriculum
Inside the Garage Door Repair & Installation course
5 self-paced lessons, then a 10-question exam — 75% to pass, unlimited retries.
- 1
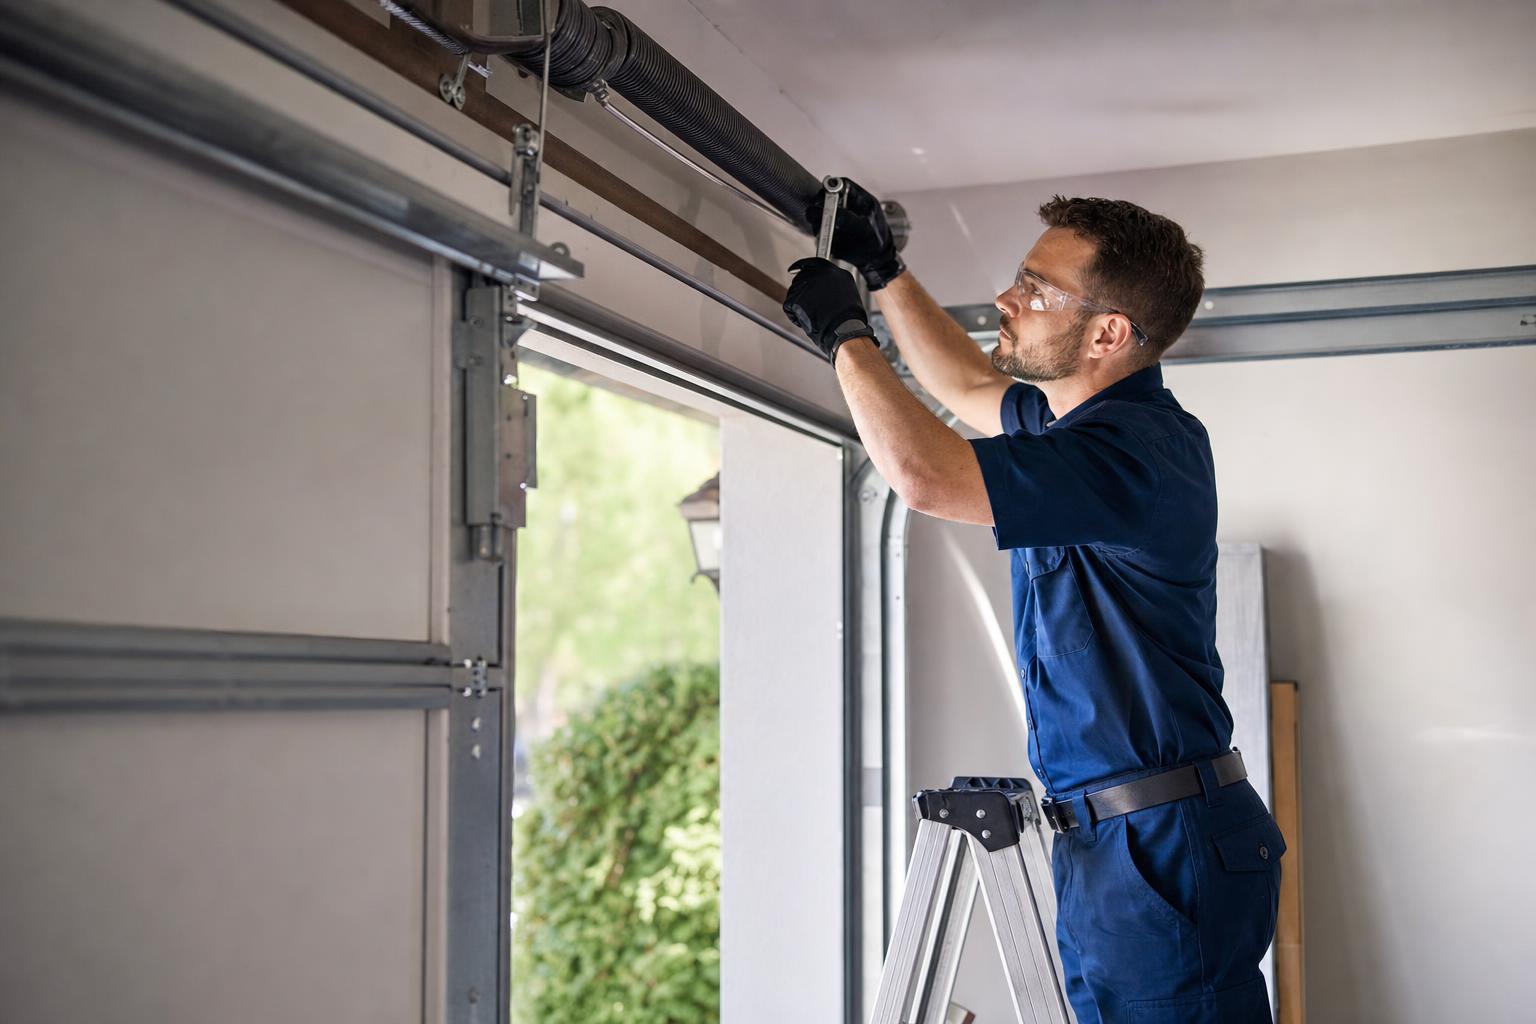
Garage Door Anatomy, Door Types, and Pre-Job Inspection
Before touching any hardware, a technician must read the door as a balanced mechanical system. A sectional door has four to five hinged panels riding on rollers inside vertical and horizontal tracks, counterbalanced by a spring system. The spring offsets the door's weight (typically 130-350 lbs) so the opener or a person only moves a few pounds. Identify the two spring types: torsion springs mount on a shaft above the header and wind/unwind; extension springs run parallel to the horizontal tracks and stretch. Know the core parts: panels, hinges, end and center bearing plates, the torsion tube/shaft, drums, lift cables, rollers, vertical and horizontal track, and the bottom bracket (which holds cable under full spring tension and must never be loosened with the door under load). Run a standard pre-job inspection: with the door closed, look for frayed cables, gapped or rusted spring coils, cracked hinges, loose lag bolts, and bent track. Perform a balance test by disconnecting the opener and lifting the door halfway by hand. A balanced door stays put; a door that slams down or rises has a spring problem. Check that rollers move freely and the door isn't binding. Measure headroom, backroom, and side room to confirm hardware fits. Photograph existing conditions and note the spring's wire size, inside diameter, and length, plus door height and weight, because every replacement part is sized to those figures. This inspection drives the entire repair plan and the quote.
- 2
Torsion and Extension Springs: Safe Service and Replacement
Springs store the energy that makes the door liftable, and that stored energy is what injures technicians. Treat every spring as loaded until proven otherwise. For torsion springs, the only safe tools are two correctly sized steel winding bars-never screwdrivers or rebar. Procedure: clamp locking pliers on the track below a roller to lock the door down, then unwind the old spring one quarter-turn at a time, moving your hand over hand and keeping your body out of the bar's arc. Loosen the set screws only when a bar is firmly seated. Match the replacement by wire diameter, inside diameter, overall length, and wind direction (left-wound vs right-wound, color-coded black/red); a wrong-handed spring will not counterbalance the door. After installing, wind to the manufacturer's spec-usually the door height in feet times four, divided by the circumference, often around 7.5-8 turns for a 7-foot door-then stretch the spring out about a quarter inch and tighten set screws onto the shaft, not the seam. Extension springs require safety cables run through the spring's core so a broken spring cannot become a projectile; never service one without them. Always replace springs in matched pairs so balance and wear stay even. After any spring work, re-run the balance test and adjust winding a quarter-turn at a time until the door holds at the halfway point. Springs are wear items rated in cycles (10,000 standard, 20,000+ high-cycle); set customer expectations accordingly.
- 3
Panels, Tracks, Rollers, and Hinges: Alignment and Replacement
A door that binds, jerks, or comes off track is usually a track, roller, or hinge problem, not a motor problem. Tracks must be plumb on the verticals and level/pitched correctly on the horizontals, with consistent spacing from the door edge; even a quarter-inch of misalignment causes rollers to drag. Check the gap between roller and track-too tight binds, too loose lets the door rattle and jump the track. To replace a roller on an intermediate hinge, support the door, remove the hinge, swap the roller, and reinstall; nylon rollers run quieter and longer than steel. Hinges are numbered (1, 2, 3) by position from the bottom up-using the wrong number changes the door's travel geometry and stresses the panel. Inspect for cracked hinge knuckles and elongated screw holes, a sign of a failing panel joint. For a damaged panel, you can often replace a single section if the model is still made: lock the door, release tension or block the door, unbolt the section's hinges and brackets, and slide the panel out laterally after removing the track-stop, then reverse with the new section squared and shimmed. Realign bent track by loosening the lag bolts, tapping it true with a rubber mallet, and re-torquing; replace track that is kinked or creased. After any track or panel work, cycle the door several times by hand and watch each roller seat fully through the curved transition. Lubricate hinges, rollers, springs, and bearings with a garage-door-rated lithium or silicone product, never grease that collects grit.
- 4
Openers: Drive Types, Installation, and Safety Systems
The opener does not lift the door-the springs do-so never install an opener on an unbalanced door; it will overwork the motor and mask a dangerous spring. Know the drive types: chain (cheap, durable, noisy), belt (quiet, good for attached garages), screw-drive (fewer parts, temperature-sensitive), and direct/wall-mount jackshaft (mounts beside the torsion shaft, frees ceiling space). Installation sequence: assemble the rail, mount the motor head to ceiling struts or unistrut able to carry the load, fasten the header bracket into solid framing (never just drywall), attach the trolley arm to a reinforced door bracket on the top section, and set the rail so the door's top edge clears the header. Two non-negotiable safety systems, mandated in the US since 1993, are the photo-eye sensors and the auto-reverse force settings. Mount the photo-eyes no higher than six inches above the floor on both tracks, aligned so the indicator LEDs are solid; if the beam breaks while closing, the door must reverse. Set travel limits so the door fully closes and opens without straining. Then test force: place a 1.5-inch board (or a 2x4 flat) under the door's path-on contact the door must reverse within two seconds. Adjust the close-force and open-force settings until both the contact-reversal and photo-eye tests pass. Set up entrapment-protection backup, keypads, and rolling-code remotes last. Document that both safety tests passed before leaving.
- 5
Final Adjustment, Customer Handoff, and Documentation
The last phase converts a mechanical fix into a safe, warrantable, professional job. Run the full commissioning checklist: balance test passes, door is quiet and smooth through all rollers, all lag bolts and set screws are torqued, cables sit properly in the drums with no loose wraps, and lubrication is complete. Re-test both opener safety systems and record the results-photo-eye reversal and contact (2x4) reversal-because these are the items most often cited in liability claims and inspections. Walk the customer through operation: how to use the manual release and re-engage the trolley, why they must never put fingers between panels, and how to keep children and remotes separated. Explain the spring is a cycle-rated wear part and that you installed matched springs, noting the cycle rating. Provide written documentation: an itemized invoice listing parts with spring specs (wire size, ID, length, wind), the door weight, work performed, and both safety-test results, plus any warranty terms on parts and labor. Photograph the finished installation and the model/spec labels for the service record. Note any deferred issues you found-worn rollers, a softening panel, an aging second spring-and recommend follow-up rather than fixing silently or ignoring them. Clean the work area and remove old hardware. Confirm the remotes and keypad codes work for the customer, and reset or delete any codes from a previous owner if this is a service-transfer. Good documentation protects the technician, the company, and the customer if anything fails later.
Curriculum
What you’ll learn
- Measure and select the correct torsion or extension spring by wire size, inside diameter, and length, then wind it to the right turn count.
- Safely de-tension and replace a broken spring using winding bars and a controlled-release procedure.
- Diagnose opener faults across chain-, belt-, and screw-drive units, from logic-board failures to worn gears and bad capacitors.
- Set and test opener travel limits and force adjustments so the door reverses correctly under load.
- Inspect, align, and replace bent or rusted track sections and rollers to restore smooth, quiet travel.
- Replace damaged panels and re-balance a sectional door so it holds position anywhere in its travel.
- Test and adjust safety systems — photo-eye sensors and auto-reverse — to meet UL 325 entrapment-protection requirements.
- Plan and complete a full sectional door installation: leveling tracks, mounting the operator, and balancing the finished door.
What's included
Everything you get with enrollment
One price — the course, the exam, the certificate, and the tools to put it to work.
Self-paced lessons
Practical, standards-based lessons you can start, pause, and finish on your own schedule.
A real certification exam
A short multiple-choice exam that confirms you absorbed the material — 75% to pass.
Instant certificate
Pass and download your personalized Certificate of Completion the same day.
Unique verification ID
Every certificate carries an ID anyone can confirm online — proof customers trust.
2-year validity + renewal
Your credential is valid for two years, with a simple renewal path before it expires.
Free Find-a-Pro listing
Once certified, claim a free listing so homeowners in your area can hire you.
The process
How it works
Enroll & pay
Secure checkout, instant course access.
Complete the course + short quiz
Self-paced lessons, then a short quiz — 75% to pass, unlimited retries.
Download your certificate
Personalized certificate generated instantly, with a unique verification ID.
Your credential
Your certificate
- Holder name and course title
- Unique certificate ID
- Issue date and expiry date (2-year validity)
- Online verification by ID
A NISCR Certificate of Completion confirms completion of NISCR training and examination. It is a professional credential, not a government license. Where local law requires a license to perform a service, the technician is responsible for obtaining it.

Certificate
of Completion
This certifies that
Your Name
has completed
Garage Door Repair & Installation

- Certificate No.
- Valid
- NISCR-GDR-2026-XXXXXX
- 2 years
Enroll
Enroll today
$199
Course + certificate + renewal eligibility.
Keep going
Related certifications
Questions
Frequently asked questions
- Is this a government license?
- No. NISCR certification is a professional credential that documents you've completed standards-based training and passed an assessment for garage door repair and installation. It is not a state or municipal license, but it's the kind of proof customers, property managers, and partners look for.
- How fast do I get my certificate?
- The same day. Once you finish the course and pass the short quiz, your certificate is issued immediately and ready to download, print, and share.
- Does my state require a license for this work?
- It varies. Some states and municipalities require a contractor or specialty license to perform or advertise garage door work, while others don't. Always check your local requirements — this certification complements a required license but does not replace one.
- Do I need experience to take this course?
- No prior certification is required. The course is built for both newcomers and working techs who want to formalize their skills, covering springs, openers, tracks, panels, and safety from the ground up.
- Does it cover both torsion and extension spring systems?
- Yes. You'll learn to identify, size, and safely service both torsion springs and extension springs, including the winding and controlled-release procedures each system requires.
- Will this help me win installation and contract work?
- Yes. Many builders, property managers, and warranty programs prefer or require credentialed installers, so a verifiable certificate helps you qualify for higher-value installation and repeat-account work.